
Plastic Bucket Moulds · 11 min read
Published: October 6, 2026
Plastic Bucket Handle and Lug Strength: A Mould Buyer Validation Guide
Treat the bucket, handle and two attachment lugs as one load-bearing packaging system before tooling approval.
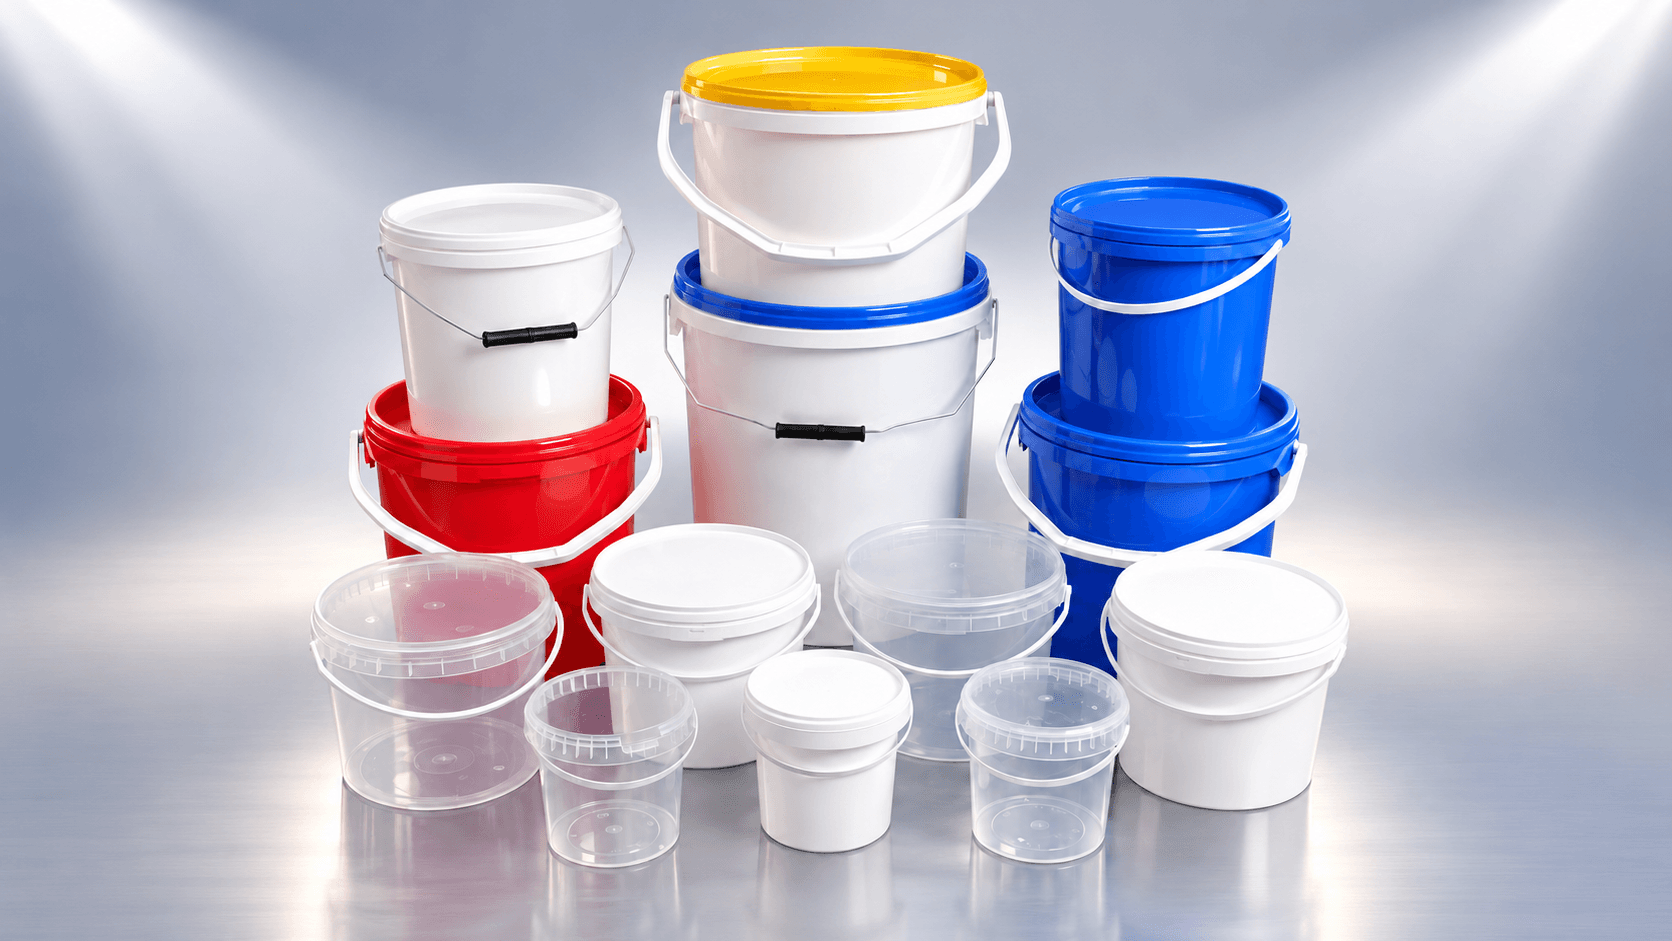
A bucket handle can appear sound when the empty part leaves the mould, yet fail after filling, carrying or repeated movement. The handle, its two attachment points and the bucket wall act as one load path. A quotation for a bucket mould therefore cannot establish carrying performance merely by showing a handle in the product drawing. Buyers need to define the assembled package, its real load and a test plan before tooling design is frozen.
This guide is for purchasers of injection-moulded buckets and pails for food, paint, household and other nonhazardous applications. It separates what can be observed during a mould factory acceptance test (FAT) from filled-package qualification at the buyer's site. A regulated or hazardous-goods package requires its own applicable requirements and formal approvals; the checks here are not a substitute.
Define the Carrying Duty Before Design Release
Specify the maximum mass of the filled, closed package, not only the nominal bucket volume. Identify the contents, fill temperature, storage and transport temperature, expected carry distance, lift frequency and whether a person or automated device grips the handle. State whether the handle is plastic, metal or a separate purchased component, who installs it, and at what point in the process. A production handle from another supplier may have a different wire diameter, pivot geometry or stiffness from a trial sample.
Mark the handle position, pivot range, lug geometry and minimum clearances on controlled bucket and handle drawings. Provide matching samples if available. Agree who owns the product specification, mould design, handle supply, assembly process and final package test. Without that boundary, a detached handle can become an argument between suppliers instead of a traceable engineering finding.
| Buyer input | Design or test decision | Evidence to retain |
|---|---|---|
| Approved bucket, lug and handle revisions | Mating geometry and change control | Drawings and identified reference samples |
| Maximum filled mass and contents | Carrying-load condition | Fill record and package mass |
| Assembly method and equipment | Insertion and retention requirements | Assembly settings and observations |
| Carry, storage and temperature profile | Conditioning and repeated-use test | Written test plan and condition log |
| Machine, resin and cavity target | Mould layout and FAT sampling | Trial sheet with cavity IDs |
Do not lift a filled package over people or rely on an improvised demonstration. The package owner must approve a safe test fixture, load, duration, number of cycles and pass criteria for its application. No universal handle-load number applies to every bucket size and material.
Review the Bucket Lug as a Moulded Structural Feature
Follow the load path into the sidewall
The handle load passes through both pivots, lugs and adjacent bucket wall. Ask the tooling team to review local wall thickness, transitions, draft, knit or weld-line locations, gate influence and cooling near the lug. Sharp geometry or uneven shrinkage can make a visually acceptable lug sensitive to loading. The product designer should approve any reinforcement because extra material can affect weight, nesting, lid clearance and cycle time.
Check mould access and repeatability
Identify how the cavity and core form each attachment feature and how the moulded bucket is released. Undercuts or side actions need an agreed operating and maintenance plan. During design review, request the location of replaceable inserts and the inspection dimensions for each lug. A damaged insert or inconsistent ejection can create cavity-specific variation even when the handle drawing is unchanged.
Record whether lug features are symmetric. If they are intentionally different, mark left and right orientation on drawings, samples and inspection sheets. Do not average the two sides into one measurement; the weaker side often determines the outcome of a lift.
Specify Handle Assembly and Retention
Separate insertion force from carrying strength
A handle that installs easily may pull out; a handle that is hard to insert may crack the lug. Define how assembly is performed, what tool or machine is used, whether the handle can rotate freely and what visible damage is unacceptable. The relevant acceptance method should include both insertion/retention observations and a carrying test on the same approved component revisions.
Control supplier and material changes
For a separate handle, record its material or wire specification, finish, critical dimensions and supplier revision. For a moulded plastic handle, include its resin and processing conditions. If the receiving plant switches handle supplier or resin after FAT, repeat the fit and load checks. Handle and lug performance is a system result, not an intrinsic property of the bucket mould alone.
Build a Safe, Representative Carrying Test
Set conditions before sampling
Define the fill medium or approved surrogate, closed-lid state, conditioned time, grip location, lift height, motion or dwell, repeat count and ambient conditions. A static hanging test and repeated walking or conveyor transfers represent different demands. The buyer's quality team should choose the method that reflects the actual distribution route and specify whether leakage, permanent distortion, handle detachment or cracking is a failure.
Use an appropriate containment area and lifting fixture. Identify every package by bucket cavity, handle batch and assembly setting. Record initial and final lug dimensions where relevant, photographs, deformation, rotation and any loss of lid engagement. Keep both passing and failed samples. A single successful lift of one empty bucket is not evidence for a filled production run.
Diagnose failure without guessing
If a handle detaches, note whether the handle opened, a pivot slipped, a lug cracked, the wall distorted or assembly was incomplete. Compare both sides and multiple cavities. Review material condition, cooling, ejection, handle dimensions and assembly settings before changing tool steel. Changing a process parameter to pass one demonstration is not proof of a robust production window; document the correction and repeat the agreed test.
Separate Mould FAT From Package Qualification
At FAT, confirm the machine, resin, mould revision, cavity identification, cycle condition and part sampling plan. Inspect lug dimensions, local appearance, symmetry and handle assembly across the cavity layout. If the approved production handle and safe load fixture are present, perform the agreed short functional test and record the exact fill and conditioning conditions. Video helps explain the method but does not replace identified samples and measurements.
Some tests belong at the receiving site: production filling, real handles, automated assembly, long-duration carrying or transport exposure. List these as open qualification items with owners and dates, not as FAT passes. If the mould supplier claims that a handle test is complete, the report must identify the package mass, handle revision, sample origin, number of repetitions and result.
Handover, Shipment and Site Restart
Before shipment, obtain approved bucket and handle drawings, lug inspection method, trial sheets, sample IDs, open-issue list, spare insert references, connection diagrams and packing photographs. Protect lug-forming surfaces and preserve the mould according to the agreed shipment plan. Ensure the receiving plant can identify which cavity made each reference bucket.
At installation, verify machine fit, water and resin conditions, handle supply and assembly settings. Recheck lug dimensions and the agreed function on stable production samples from all relevant cavities. Perform the filled-package qualification assigned to the site. Compare results with FAT conditions; a different handle batch, fill mass or temperature can explain a change without automatically proving a mould defect.
Conclusion
Handle reliability must be specified as a property of the assembled, filled package. Define the load and handling route, control the lug and handle revisions, sample every relevant cavity, and state which tests belong at FAT or at the destination plant. This makes mould acceptance fairer and gives the production team evidence to diagnose failures after launch.
Frequently asked questions
Can an empty-bucket lift approve handle strength?
No. It can reveal assembly or obvious defects, but acceptance should use the approved filled mass, handle, conditioning and movement specified for the real package.
Should the handle be installed during mould FAT?
Yes when the approved production handle and safe test method are available. Record the assembly condition; if they are unavailable, mark the functional test as pending site qualification.
Why does one cavity produce weaker lugs?
Possible causes include local cooling, material flow, feature geometry, insert condition or ejection. Compare traceable samples and process records before selecting a correction.
Is a successful short lift enough for transport approval?
No. A short FAT observation only supports the condition tested. The package owner must determine whether repeated handling, conditioning or transport tests are also required.
Talk to a mould engineer
Request a bucket handle validation review: Send your bucket and handle drawings, resin, maximum filled mass, assembly method and handling plan for a practical tooling and FAT discussion.
Get a Quote →